

You can set up SCIM in your organization to simplify SSO user provisioning and management.
SCIM is available only to Enterprise organizations with 50 seats or more, or with at least one Enterprise Max user.
Setup
It’s a good idea to create two groups (for example, PPLX_Admin and PPLX_Members) in your IdP before this step, and add users to these groups. You can then assign access to those groups in the Perplexity app.
Go to Settings > My Organization
Ensure you verify your domains before enabling SCIM
After you verify your domains, click Connect for SCIM
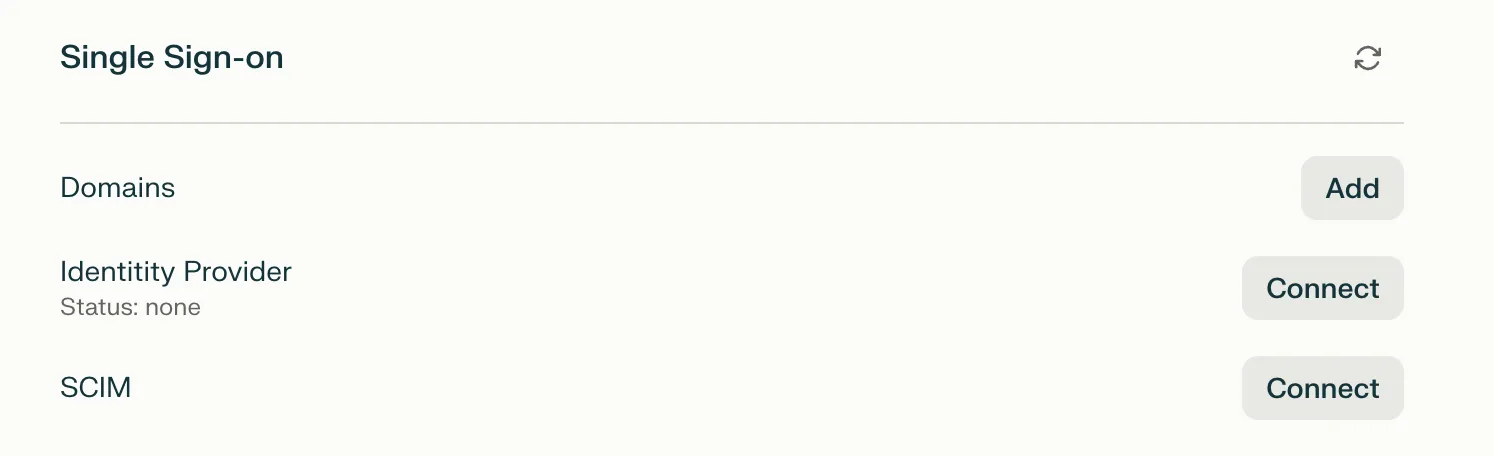
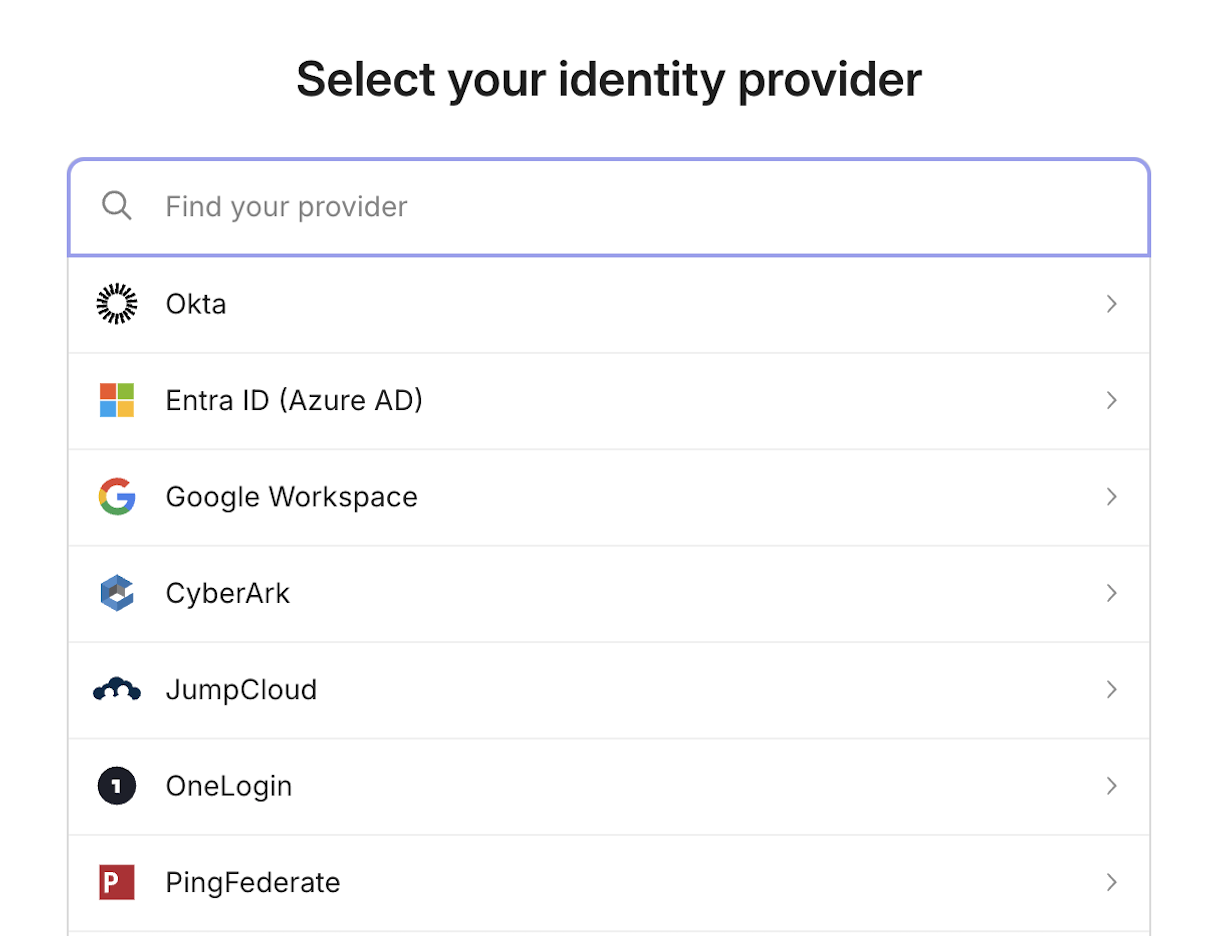
4. Select your identity provider (Okta, Entra ID, Google Workspace and more)
We also offer Custom SCIM, which you can find at the bottom of the list.
5. Follow the listed steps
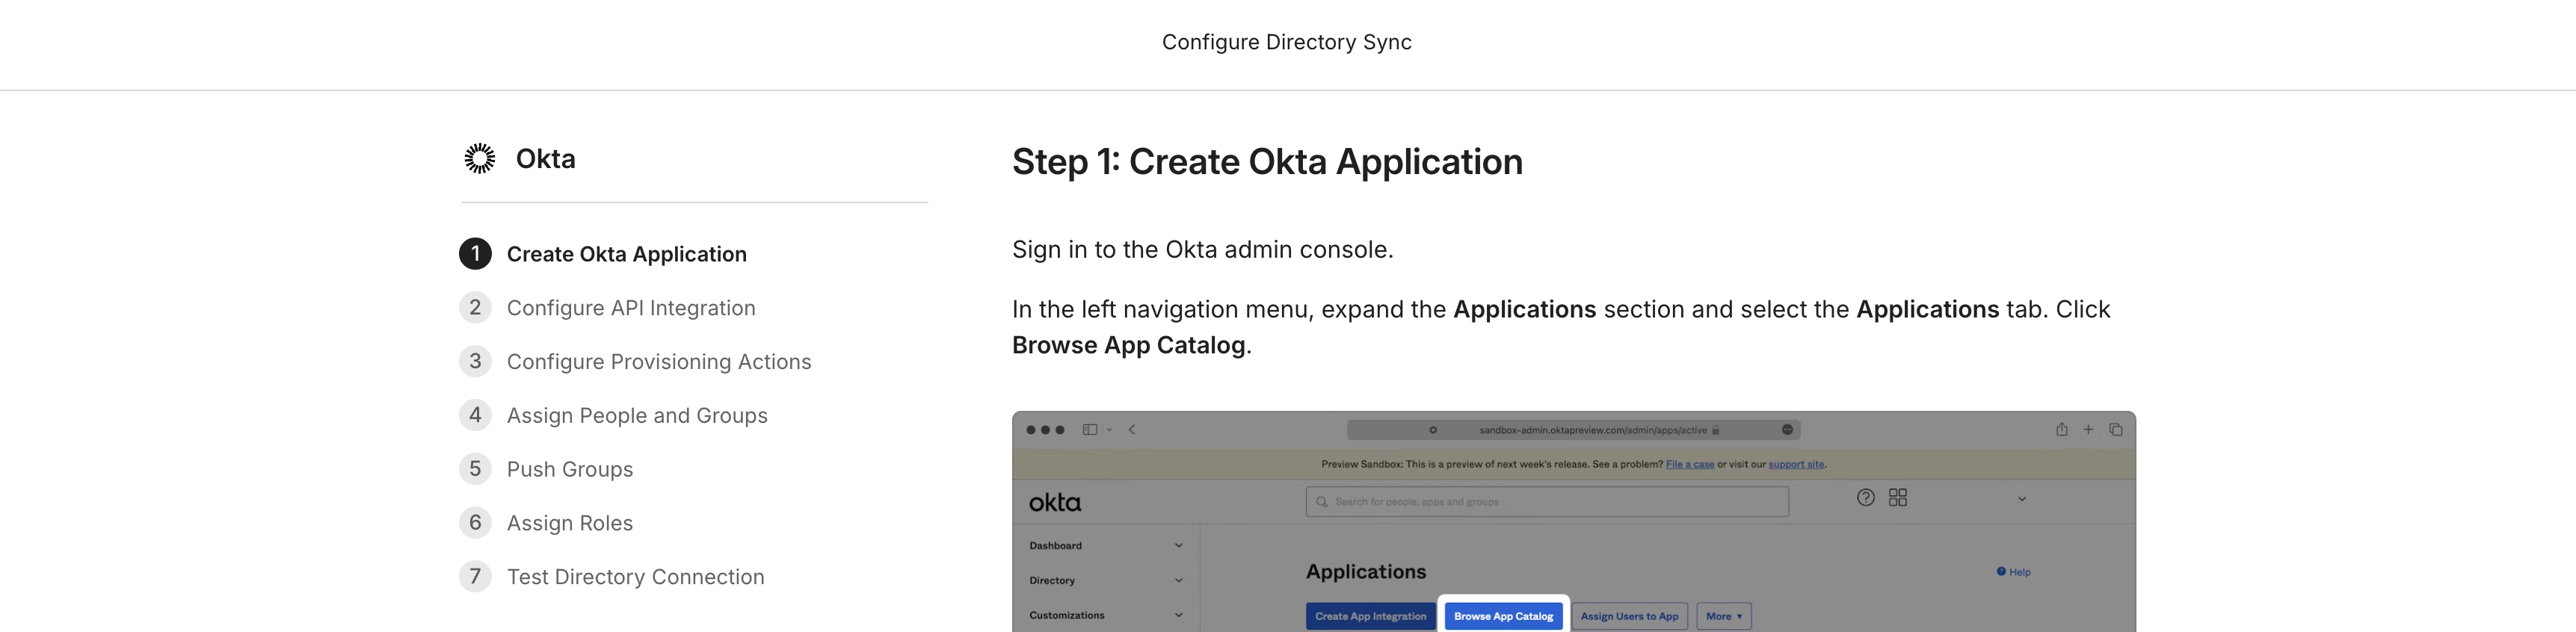
6. User groups: To assign member and admin roles to user groups, create two separate Perplexity user groups within your IdP. Assign one group the “member” role and the other the “admin” role.

7. After you complete the setup, user records start syncing from your identity provider into Perplexity. See below for the indicator in the UI that clarifies when a user record in the user table is managed through SCIM. You can’t edit user records managed through SCIM in the Perplexity UI (for example, to remove the user).

Please note:
New members provisioned through SCIM receive a welcome email that prompts them to sign in to Perplexity. Welcome emails are on by default. To turn them on or off, open the Identity screen in organization settings and use the Send welcome emails to new members toggle in the SCIM section. Changing this setting affects only members provisioned afterward. It doesn’t send emails to existing members.
If your organization uses Provision SCIM users only on first SSO sign-in, members don’t receive an email when they’re assigned in your identity provider. They receive a welcome email when they first sign in with SSO and their seat is created.
If users are part of two or more user groups, you can define prioritization of group assignment as part of the syncing process.
User groups within Perplexity are currently not supported (for example, users within the “engineering” user group) outside of distinguishing “Admin” users and “Member” users.
Perplexity excludes users who are members of other organizations from the SCIM sync.
To edit your SCIM setup, click Connect and you’ll see a screen similar to the one below to edit your configuration.
FAQ
Can I use this feature if I have fewer than 50 seats in my organization?
Can I use this feature if I have fewer than 50 seats in my organization?
If your organization has fewer than 50 seats, you can upgrade at least one seat to Enterprise Max to access SCIM-based user management.
I have activated the feature by mistake and I've been charged for additional seats. What should I do?
I have activated the feature by mistake and I've been charged for additional seats. What should I do?
If you have activated SCIM provisioning by mistake and you’re not ready to upgrade to 50+ seats, we can adjust billing for your account and undo any additional billing or payments. Please make sure that you’ve deactivated this feature and get in touch.
I’ve lost admin access after syncing my directory with Perplexity via SCIM. How can I fix this?
I’ve lost admin access after syncing my directory with Perplexity via SCIM. How can I fix this?
When this happens, it typically means that your role or group-to-role mapping in your identity provider (IdP) is not correctly assigning admin privileges to any synced users. SCIM replaces application-side user and role management with IdP control, so all permissions—including admin or owner roles—must be defined upstream in your IdP and mapped properly to the SCIM app.
Please review the groups in your IdP to ensure that any user you’d like to have as admin has the correct role assigned to them, or this may happen again upon provisioning new users.
To do so:
Go to Identity in Organization settings, and scroll down to SCIM
Click the vertical ellipsis (⋮) and then Manage
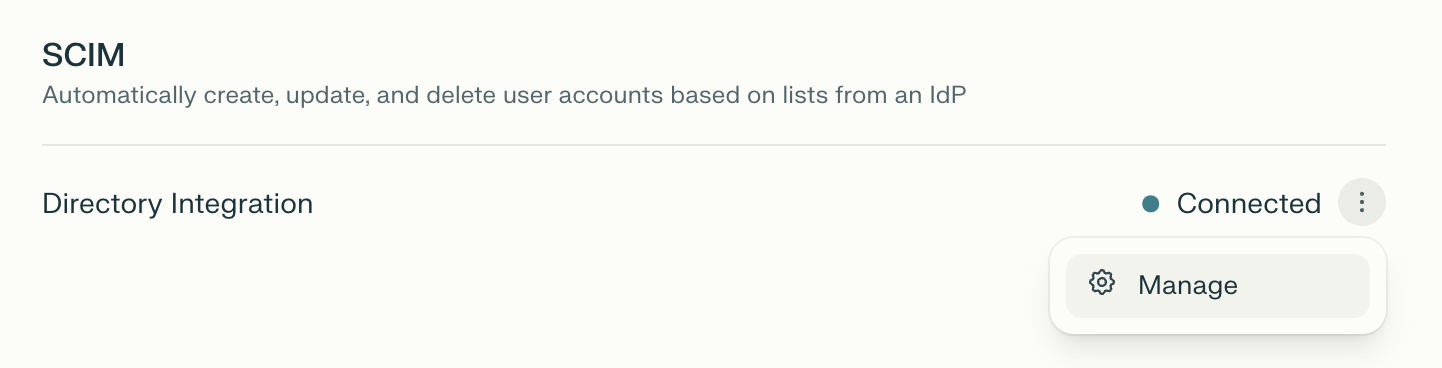
In Role assignment, click Configure role assignment
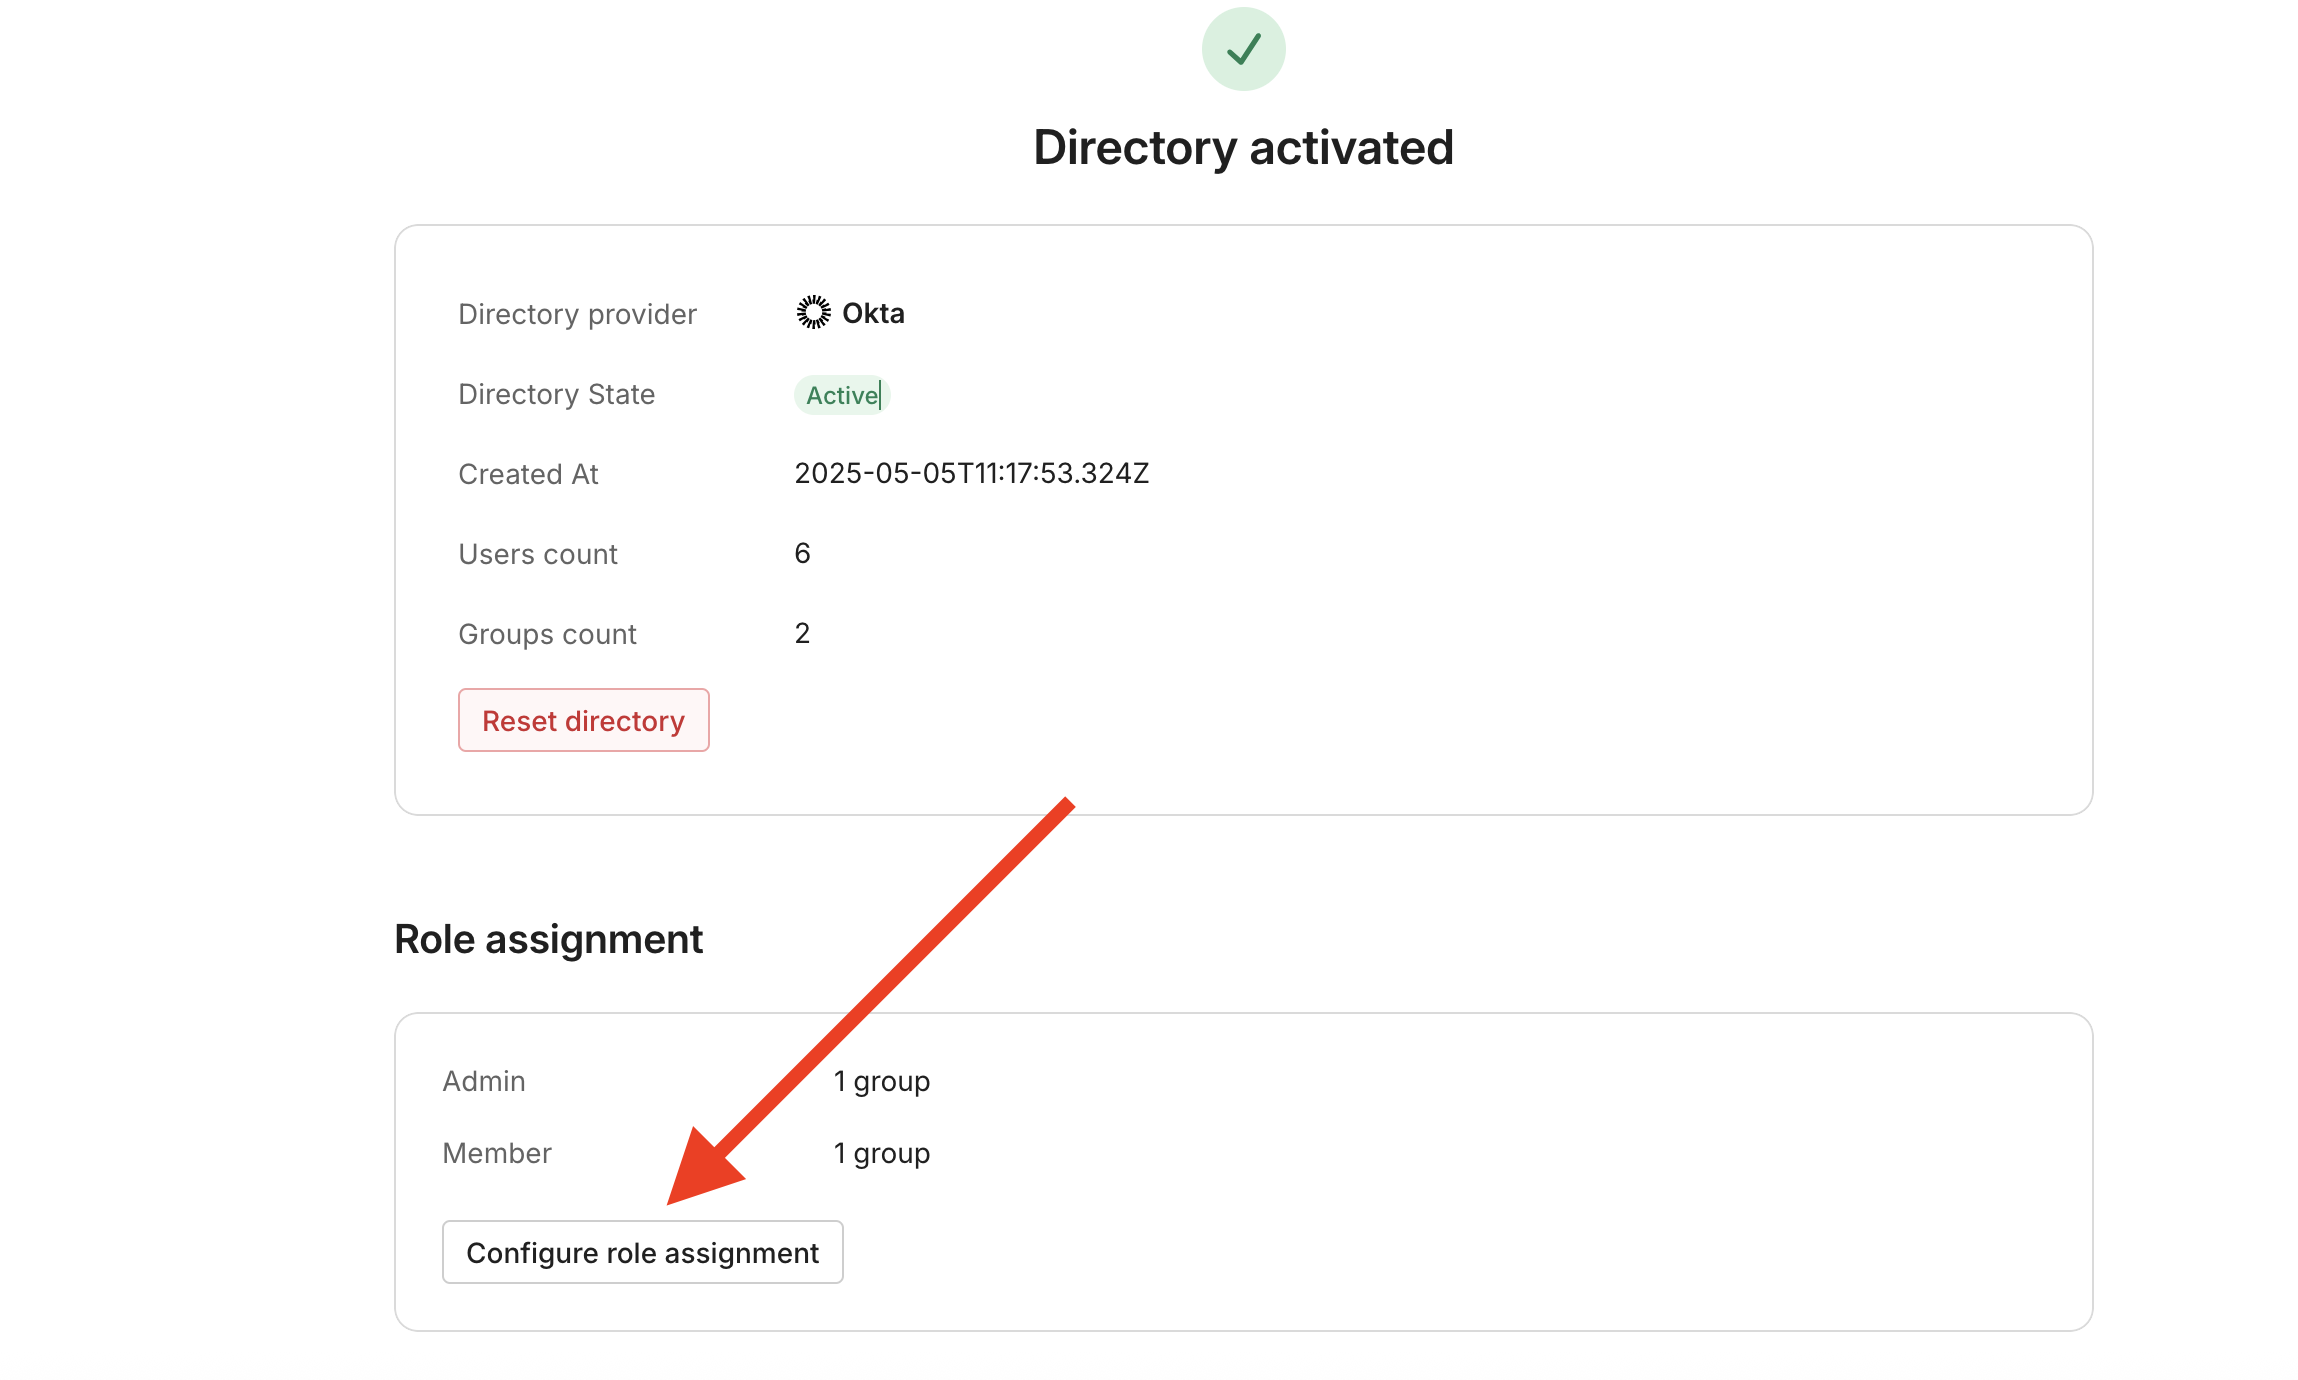
Assign the appropriate role to the two groups that you created in your IdP at the beginning of setting up SCIM (PPLX_Admin and PPLX_Members). For example, PPLX_Admin would have the role Admin, and PPLX_Members would have the role Member.

Click Continue
If you need any help regaining admin access, please get in touch.